How to Use a Pro Press Tool – Step-by-Step Guide
Plumbing has come a long way from torches, flux, and soldering fumes. The pro press tool has completely transformed how professionals and DIYers connect pipes. It uses mechanical pressure to create strong, watertight joints in seconds – no flames, glue, or risk of leaks.
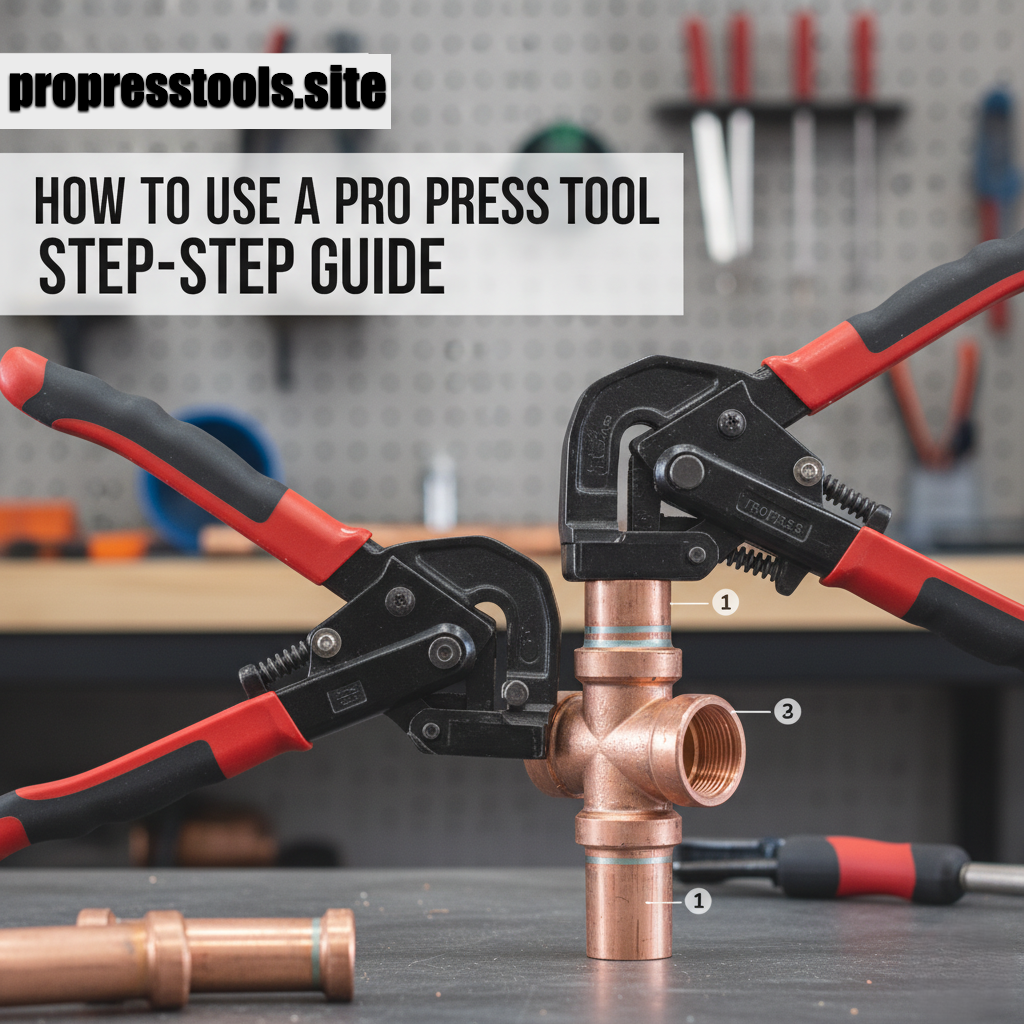
If you’re just getting started or switching from soldering to press fittings, this guide will walk you through exactly how to use a pro press tool step-by-step. We’ll cover what you need, common mistakes to avoid, and professional tips for flawless results.
💡 Want to skip straight to our top-rated picks? Check out our detailed comparison: Best Pro Press Tools for 2025
🧰 What Is a Pro Press Tool?
A pro press tool (sometimes called a press-fit tool) is a handheld device that joins pipes by applying controlled pressure to metal or plastic fittings.
Instead of soldering or threading, it compresses the fitting around the pipe using a hydraulic or battery-powered mechanism. The result: a durable, leak-proof connection that lasts for decades.
Common applications include:
- Copper plumbing lines
- HVAC systems
- Stainless and PEX piping
- Commercial and residential renovations
Manufacturers like Milwaukee, Ridgid, and Viega have popularized press technology across the plumbing industry.
👉 Learn more about the top-rated tools in our full breakdown: Best Pro Press Tools for 2025.
⚙️ Why Use a Pro Press Tool?
Switching to a press system offers real-world advantages:
- Time Savings: Each connection takes just a few seconds – no heating, cooling, or cleanup.
- Safety: No open flames, flux, or fumes. Perfect for tight spaces or fire-restricted areas.
- Consistency: Every press delivers a uniform, reliable seal.
- Professional Results: Neat joints and fewer callbacks for leaks.
According to Viega’s official data, press systems can cut installation time by up to 60% compared to traditional soldering.
🪛 Tools and Materials You’ll Need
Before you start pressing, make sure you have everything ready:
| Item | Purpose |
|---|---|
| Pro Press Tool | Choose a trusted brand like Milwaukee, Ridgid, or Iwiss |
| Press Jaws | Sized for your pipe diameter (½”, ¾”, 1″, etc.) |
| Pipe Cutter | For clean, square cuts |
| Deburring Tool | To remove sharp edges and metal shavings |
| Pro Press Fittings | Copper, stainless steel, or PEX compatible |
| Safety Gear | Gloves, glasses, and ear protection |
🧩 Pro tip: Keep a small brush and cloth handy for cleaning fittings – dirt or grease can cause leaks later.
🔧 Step-by-Step: How to Use a Pro Press Tool
Follow these steps carefully to ensure a leak-free, professional result.
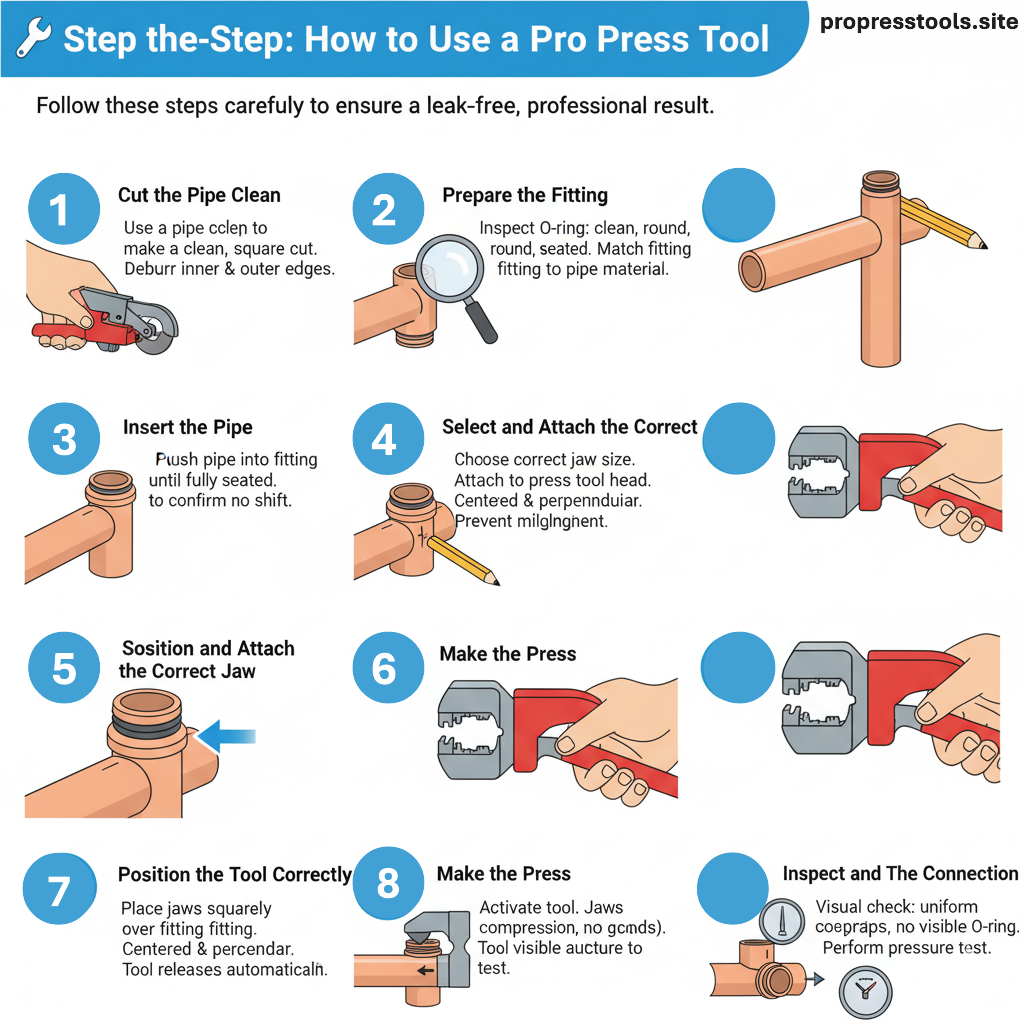
Step 1: Cut the Pipe Cleanly
Use a pipe cutter to make a clean, square cut.
Avoid saws or dull blades that can deform the pipe.
After cutting, use a deburring tool to smooth both the inside and outside edges.
This prevents damage to the O-ring inside the fitting.
Step 2: Prepare the Fitting
Inspect your fitting:
- The O-ring must be clean, round, and properly seated.
- Remove any grease, oil, or debris.
Damaged or misplaced O-rings are a common cause of leaks – so take this step seriously.
If you’re using branded fittings, such as Viega ProPress® or NIBCO® Press, always match the fitting type to the pipe material.
Step 3: Insert the Pipe
Push the pipe into the fitting until it’s fully seated.
Mark the pipe with a marker before insertion – this helps confirm that the pipe didn’t shift during pressing.
Step 4: Select and Attach the Correct Jaw
Choose the right jaw size for your fitting.
Attach it to your press tool’s head – most models, like the Milwaukee M12 Force Logic, use a snap-in locking system.
Double-check that it’s secure before pressing.
Step 5: Position the Tool Correctly
Place the jaws squarely over the fitting’s press groove.
Make sure:
- The jaws are centered.
- The tool is perpendicular to the pipe.
- The fitting doesn’t move.
Misalignment can create an uneven crimp or damage the fitting.
Step 6: Make the Press
Activate the trigger or handle. The jaws will close automatically and compress the fitting around the pipe in about 3-5 seconds.
Once the cycle completes, the tool releases automatically.
✅ You should see a smooth, uniform crimp all around the fitting.
If the tool stopped mid-press due to a low battery, never re-press the same joint – cut and replace it instead.
Step 7: Inspect and Test the Connection
Wipe the joint clean and visually check for uniform compression.
Perform a pressure test if possible to confirm a proper seal.
A well-pressed joint should have:
- No gaps between the fitting and pipe
- No visible O-ring
- A consistent press ring all around
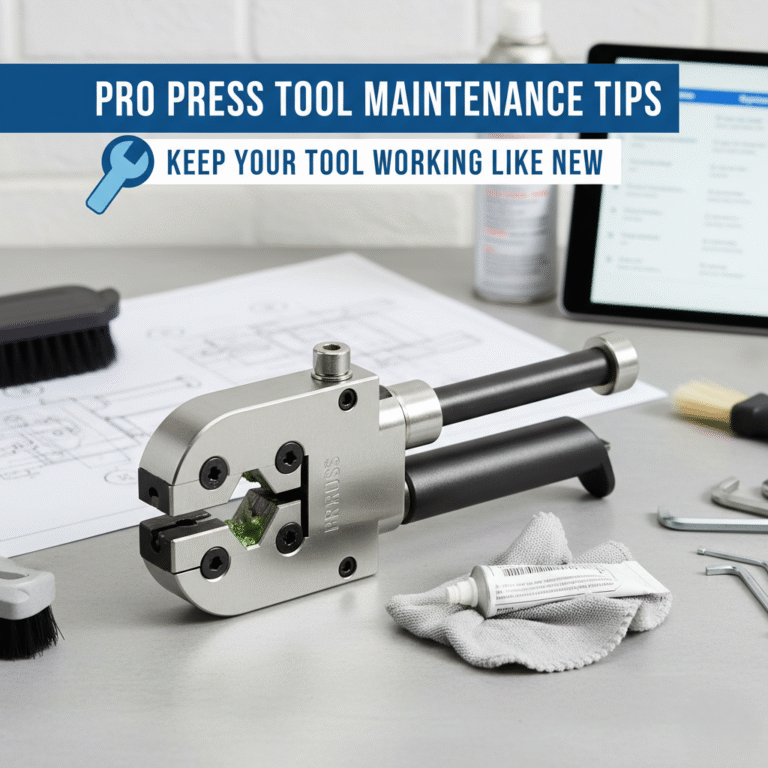
🔩 Pro Tips for Best Results
- Keep your battery fully charged before each job.
- Clean your press jaws regularly to prevent buildup.
- Always mark completed joints to avoid double-pressing.
- Use fittings and tools from compatible brands.
- Replace worn or damaged jaws immediately.
⚠️ Safety Reminders
- Never press fittings that aren’t designed for your pipe material.
- Always follow your manufacturer’s recommended pressure range.
- Use gloves, safety glasses, and proper footwear.
- Keep your workspace dry and uncluttered.
For official safety information, refer to the Milwaukee Tool Safety Manual and Ridgid’s Press Tool Guidelines.
🧰 Troubleshooting Common Issues
| Problem | Cause | Fix |
|---|---|---|
| Fitting leaks after pressing | Misaligned jaws or damaged O-ring | Replace fitting and re-press |
| Tool won’t start | Battery low or not seated properly | Recharge or reseat battery |
| Uneven crimp | Tool not aligned | Recut pipe and redo press |
| Pipe slipped out during press | Not fully inserted | Mark pipe before pressing |
🧱 Real-World Example
Let’s say you’re connecting a ¾-inch copper water line in a kitchen remodel.
With a Milwaukee M12 Force Logic tool, the entire process – from cutting to pressing – takes under 15 seconds per joint.
That’s 5x faster than soldering and far safer in wood-framed areas.
You can find this model and others in our Best Pro Press Tools for 2025 comparison.
Frequently Asked Questions
Can I use a Pro Press Tool on PEX pipes?
Yes, but make sure your tool supports PEX-compatible jaws and fittings. Tools like the Ridgid RP 241 or Milwaukee M12 work with PEX systems when equipped with the right attachments.
Do I need special training to use a Pro Press Tool?
Not formal training, but it helps to practice a few test joints first. Manufacturers like Viega and Milwaukee offer free demo videos and PDFs to help new users.
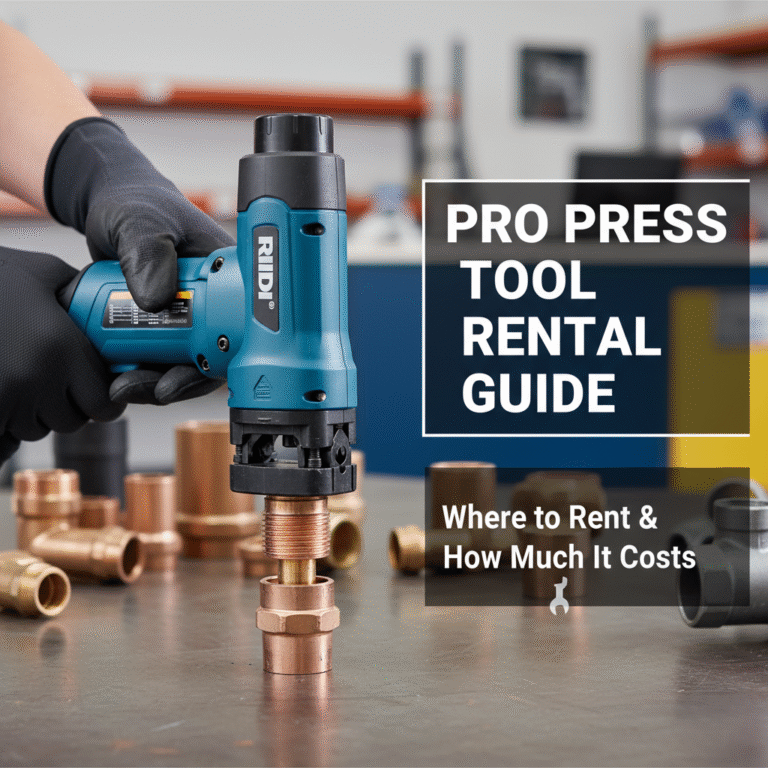
Can I rent a Pro Press Tool?
Yes – major retailers such as Home Depot, Ferguson, and Sunbelt Rentals offer daily or weekly rentals.
How long do Pro Press fittings last?
When installed correctly, press fittings can last 50+ years, similar to soldered connections. The key is proper preparation and using fittings from trusted manufacturers.
What’s the difference between soldering and pressing?
Soldering requires heat and flux, while pressing uses mechanical force. Pressing is faster, safer, and more consistent.
How do I know if my press joint is secure?
After pressing, look for an even compression ring around the fitting. Some fittings, like Viega Smart Connect, include leak-detection technology to alert you during pressure testing.
Final Thoughts
Learning how to use a pro press tool is one of the most valuable skills for modern plumbing and HVAC work. Once you master the basics, you’ll save hours of labor and eliminate most of the headaches that come with soldering.
For tool recommendations and accessories, visit our updated guide:
👉 Best Pro Press Tools for 2025
If you’re serious about clean, fast, and professional connections, a good pro press tool is worth every penny.
One Comment